Painting paper is a fantastic activity for developing an array of skills; No matter what age your child is, they will learn a lot through this activity.
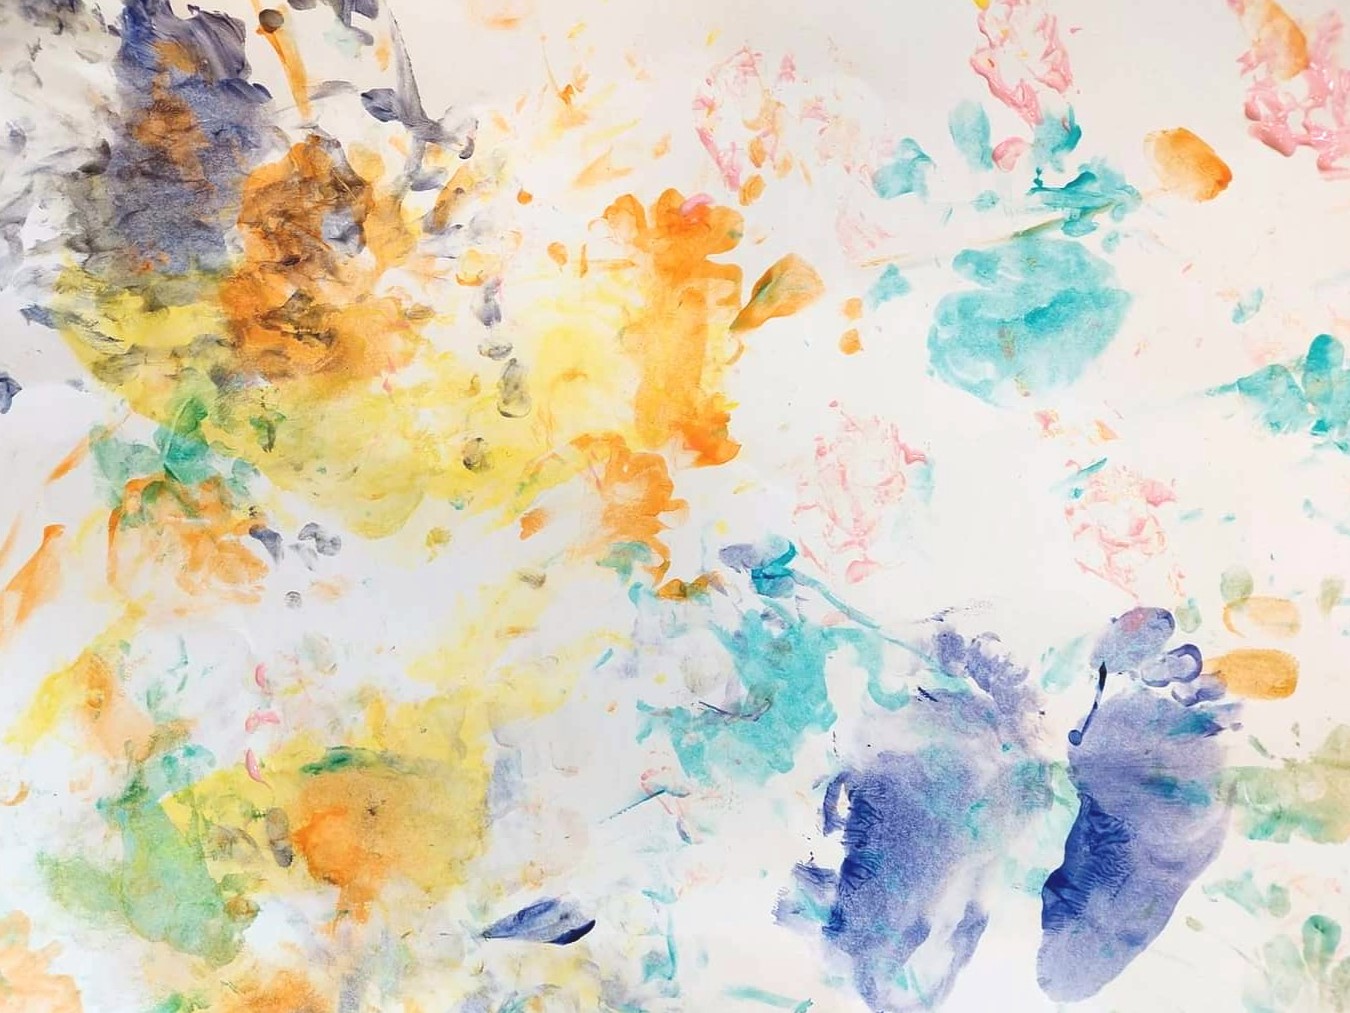
Babies and toddlers can experiment with their early mark marking skills and they will learn about the cause and effect of what they are doing whilst they use their hand-eye coordination to move painting tools around in lots of different ways. It is also a sensory experience for them as they explore the tools and textures of the paper and paints that they are handling. This is a great way for babies and toddlers to develop their gross and fine motor skills.
Babies enjoy having their own hands and feet painted so that they can see and learn about who they are. Toddlers will enjoy painting their own hands and feet and love to get messy with the paints.
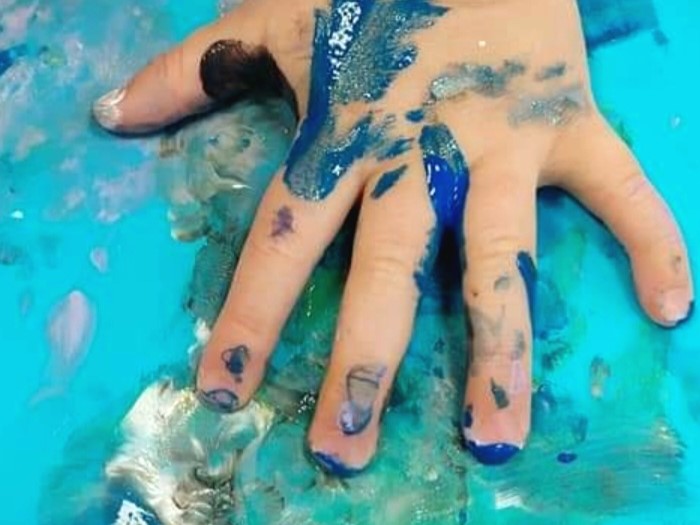
Older children can experiment with using different tools with a goal in mind as they use their imagination and decision making skills to create their own masterpieces. They will start to get more creative in the way that they paint and use painting tools as they discover more about what they can do. Older children might focus more on intricate details which will develop and tune their fine motor skills.
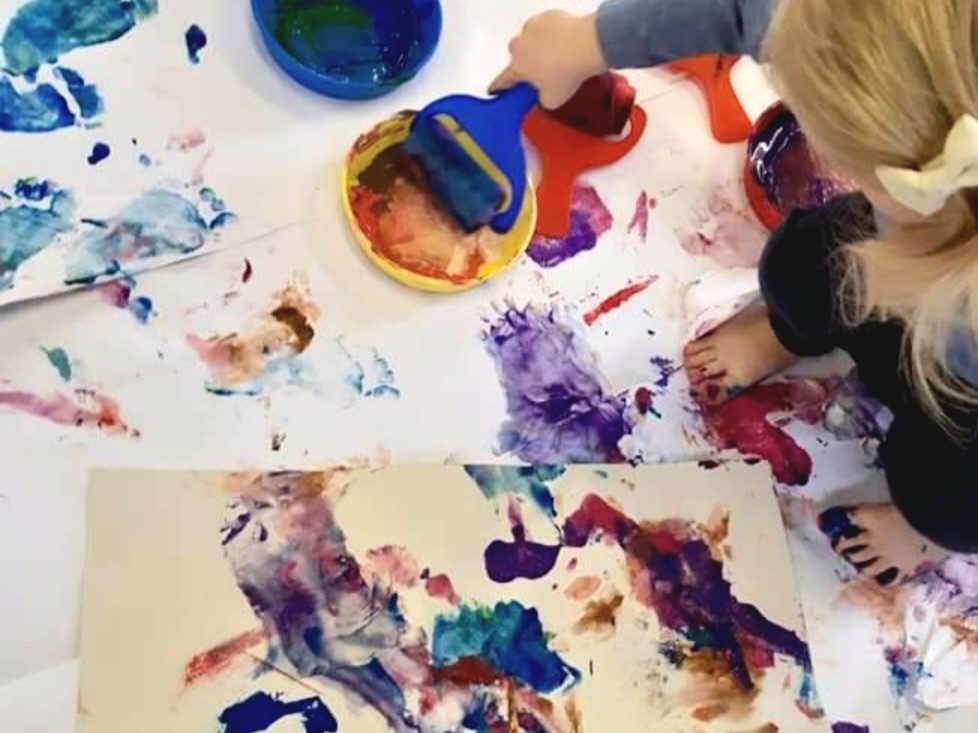
What you will need
You will need sheets of paper or a roll of paper; This can be coloured or white. You will also need a variety of paint colours and some painting tools. Here is a list of different tools and materials that you can use to paint with:
Brushes: Try out lots of different shapes and sizes of brushes, including different brush textures such as sponge brushes.
Household items: There are lots of different items from around your home that can make excellent painting tools for sweeping, stamping and dabbing across your paper. Wooden forks and spoons can be used to scoop up paint and drag it across the paper. A potato masher makes a really fun stamper. Scrunched up foil and scraps of old cloths are good for dipping into paint and dabbing onto your paper. All of these techniques will create unique patterns.
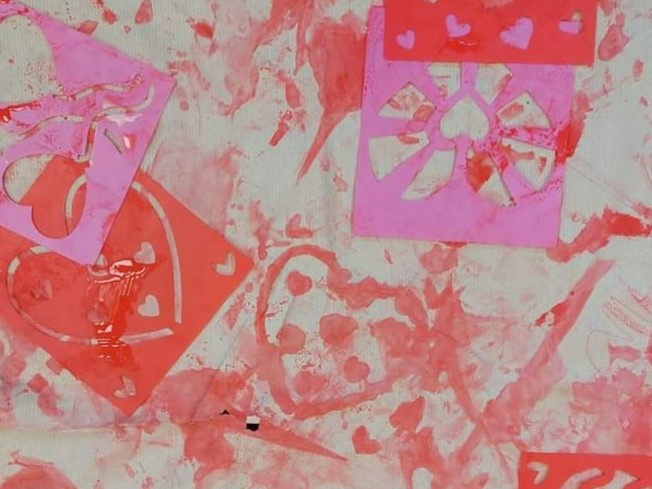
Stencils: Use stencils to create a variety of patterns and image outlines on your painted paper. You can create your own by cutting shapes out of pieces of scrap card. Paint over the gaps that you make in the card and then lift the card to reveal your shapes. You can also place the shapes that you cut out, onto your paper and paint the paper and over the top of the cardboard shapes. You can then peel away the shapes to reveal unpainted sections. You can also use netting, including the netting that your oranges come packaged in. Simply place a piece of the netting onto your paper and dab some paint over the top of the netting. Lift the netting to reveal its pattern on your paper.
Printing: Have a think about the different items that end up in your recycling bins; Can you use them as printing tools before you wash and recycle them? Items such as bottle tops, corks and yogurt pots can be dipped into paint and pressed on your paper to create allsorts of different shapes and patterns on your paper.
Painted Paper Arts and Craft Ideas
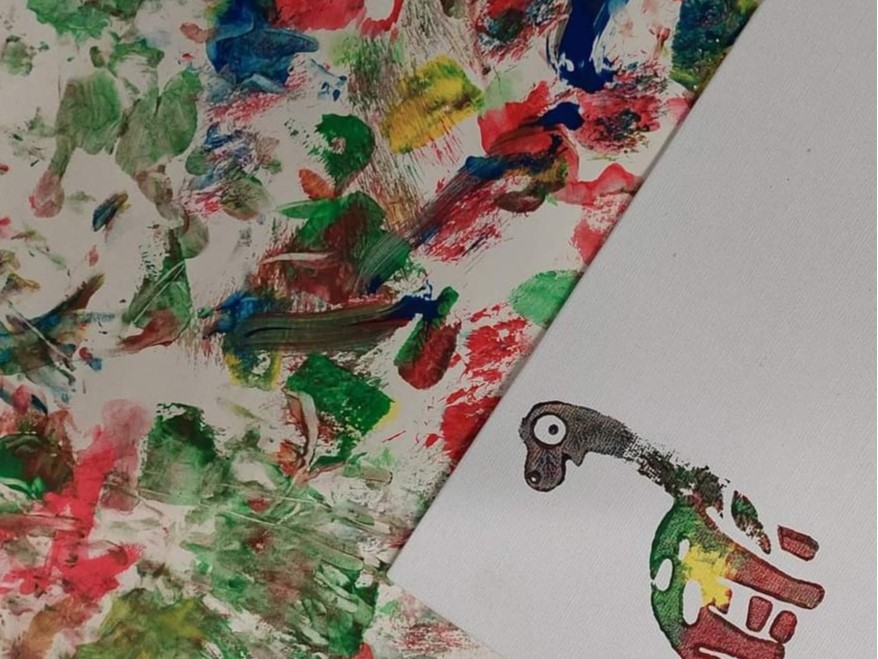
You can create your own painted paper to use in a variety of arts and crafts projects:
Colourful Unique Drawing Paper: They make colourful background paper to draw pictures onto. You could use: chalks, pastels and pencils over the top of your dried painted papers to create your drawings.
Make shapes and pictures: Cut and tear shapes and strips from your paper to arrange into a picture of something. Once you are happy with how the pieces are arraged, stick down onto a different piece of paper to make a new picture collage. You could even stick them onto a different sheet of painted paper. Think about choosing a background paper for your new picture that is a contrasting colour so that they shapes and new image stands out.
Wrapping Paper: Use the paper as it is to wrap presents or back note books.
Create a greetings card: Draw your desired shape onto the back of your painted paper and cut it out. Think about the shape and size of the shape so that it will fit onto a greetings card. You can fold a piece of A4 card in half to create your greetings card.
Explore a variety of textures: Use a sheet of painted paper, along with other materials that you can cut and tear to create a multi-textured collage. Other materials you could use are: foil wrappers, tissue papers, scrap cardboard, magazines and newspapers. Use glue to stick your scraps onto a piece of thick paper or card.
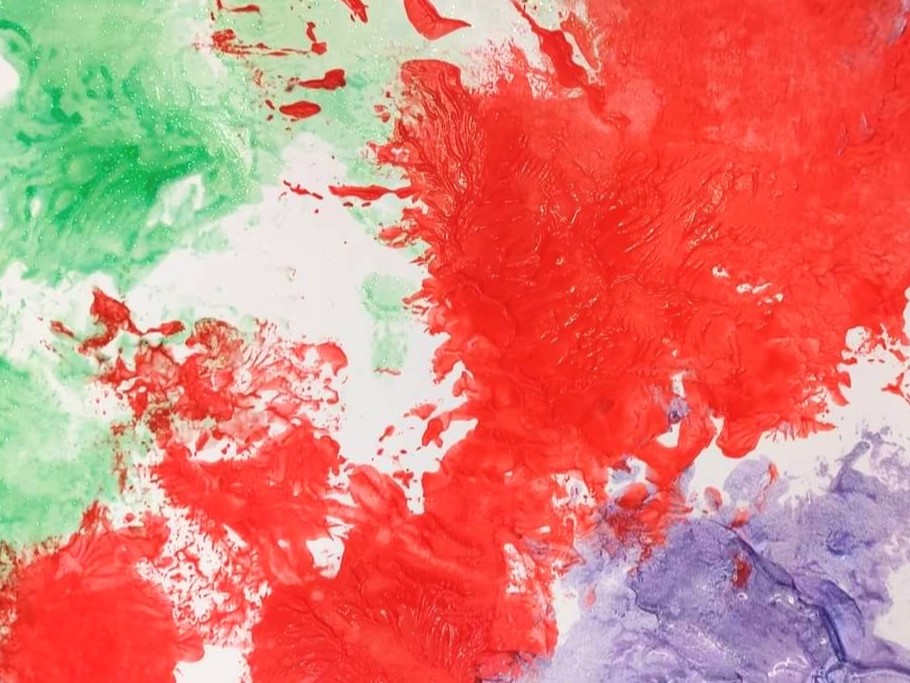
Some of your painted papers will look lovely, proudly displayed in a frame, as a masterpiece all by itself!
We would love to see your painted paper creations. Please email your photos to info@rainbowtreebox.com or tag us in your social media photos, using the hashtag #rainbowtreebox.


